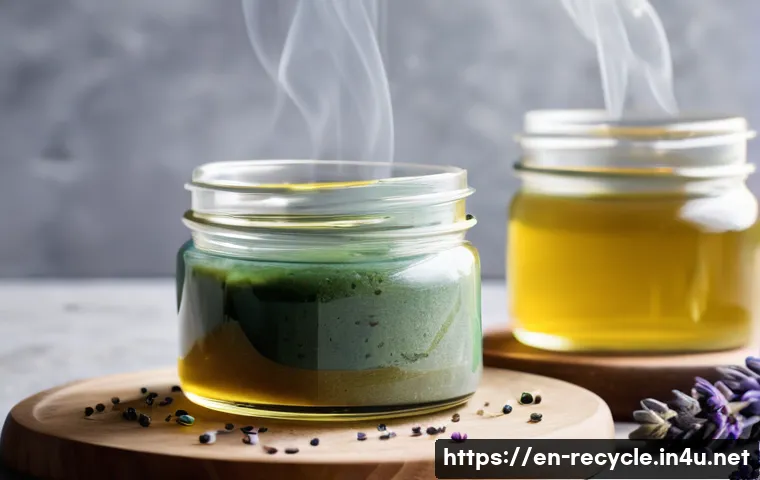
Making your own eco-friendly soap is a wonderful way to embrace sustainability while caring for your skin. Not only does it reduce harmful chemicals and plastic waste, but it also lets you customize scents and ingredients to suit your preferences.
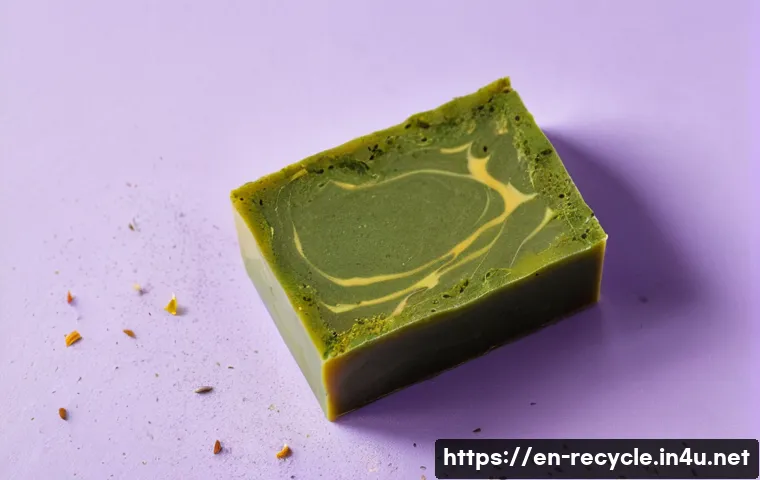
Many people find the process therapeutic and rewarding, turning a simple daily routine into a mindful experience. Plus, homemade soap often lasts longer and feels gentler compared to commercial options.
If you’re curious about how to get started and what benefits you can expect, we’ll explore everything step-by-step. Let’s dive in and uncover the secrets of crafting natural soap for a greener lifestyle!
Choosing the Right Ingredients for Your Natural Soap
Understanding Base Oils and Their Skin Benefits
When starting soap-making, the choice of base oils is crucial because they directly influence the soap’s moisturizing properties, lather, and hardness.
Common oils like olive oil, coconut oil, and palm oil each bring unique qualities. Olive oil, for instance, is known for its gentle, moisturizing effect, making it perfect for sensitive skin.
Coconut oil, on the other hand, produces a rich, bubbly lather but can be drying if used excessively. Palm oil contributes to a harder bar that lasts longer but is often scrutinized for sustainability concerns.
I’ve found that blending oils balances these traits nicely, giving a soap that’s creamy yet durable without drying out my skin. Experimenting with different oils can be fun and lets you tailor the soap to your skin’s needs.
Choosing Natural Additives for Texture and Aroma
Natural additives like herbs, clays, and essential oils not only enhance the soap’s appearance but also add therapeutic benefits. For example, lavender essential oil is calming and great for relaxation, while tea tree oil has antibacterial properties that help with acne-prone skin.
Adding oatmeal can provide gentle exfoliation, which I personally enjoy after a long day to soothe and refresh my skin. Clays such as bentonite or kaolin add color and absorb excess oils without stripping moisture.
These natural elements transform a simple bar of soap into a personalized skincare treat that feels luxurious and smells amazing.
Essential Oils vs. Fragrance Oils: What to Pick?
One thing I learned early on is that essential oils come from plants and offer natural scents plus skin benefits, but they can be pricier and sometimes overpowering if overused.
Fragrance oils are synthetic but provide a wider range of long-lasting scents and are often more budget-friendly. If you have sensitive skin or prefer a purely natural product, essential oils are the way to go.
However, for those who want fun, vibrant scents without a huge price tag, fragrance oils can be a smart choice. Mixing both carefully can yield great results, but always test a small batch first to check for any skin reaction.
Mastering the Soap-Making Process Safely and Effectively
Essential Safety Tips When Handling Lye
Lye, or sodium hydroxide, is the key ingredient that turns oils into soap through saponification, but it’s also caustic and requires caution. When I started, I was nervous about handling lye, but following simple safety rules made it manageable.
Always wear gloves, goggles, and work in a well-ventilated area. Never pour water into lye—always add lye to water slowly to avoid dangerous splashes.
Having vinegar nearby is a smart precaution in case of spills. Taking these steps helped me feel confident and safe, turning a potentially intimidating step into a straightforward part of the process.
Step-by-Step Cold Process Soap Making
Cold process soap making is a popular technique because it allows full control over ingredients and produces a long-lasting bar. After mixing your lye solution and oils at the right temperatures (usually around 100-110°F), you slowly blend them until they reach “trace,” a pudding-like consistency.
At this point, you can add your chosen scents and additives. Pour the mixture into molds, cover, and insulate for 24-48 hours until it hardens. The soap then needs to cure for 4-6 weeks to fully dry and develop its gentle qualities.
I’ve found this curing step essential because fresh soap can be harsh if used too soon.
Common Mistakes to Avoid for Best Results
One thing I learned the hard way was that rushing the curing time or skipping temperature checks can ruin a batch. Also, not measuring ingredients precisely or adding additives too early can cause separation or uneven texture.
Overmixing can lead to a soap that thickens too fast, making it difficult to pour. Patience and attention to detail are key. Keeping a notebook to track each batch’s ingredients, temperatures, and timing helped me improve consistently and avoid repeating errors.
Customizing Your Soap with Natural Colors and Textures
Using Plant-Based Colorants for Vibrant Hues
Nature offers a beautiful palette of colors that can make your soap visually stunning without synthetic dyes. I love using spirulina powder for a bright green, turmeric for golden yellow, and beetroot powder for a soft pink.
These powders not only color the soap but also add subtle skin benefits, like antioxidants or anti-inflammatory effects. It’s exciting to see how each batch turns out slightly different, reflecting the natural variability of these ingredients.
Just be mindful that some colors may fade over time or react to the soap’s alkalinity.
Adding Texture with Exfoliants and Botanicals
To add a little excitement and function, incorporating natural exfoliants like ground coffee, poppy seeds, or finely chopped herbs can be great. I often mix in dried lavender buds or rose petals for a gentle scrub and a lovely look.
These elements give a tactile experience that turns washing your hands or body into a mini spa moment. However, it’s important to balance the amount so the soap remains comfortable to use and doesn’t irritate the skin.
Balancing Aesthetics and Functionality
While it’s tempting to pile on colors and textures for Instagram-worthy bars, I’ve learned that too much can affect the soap’s lather and cleansing ability.
For example, heavy clays or dense botanicals may weigh down the soap, making it harder to use. The key is moderation—adding just enough to create visual appeal and skin benefits without compromising performance.
Testing small batches first lets you find the perfect balance and ensures every bar is a joy to use.
How Homemade Soap Impacts Your Skin Differently
Gentle Cleansing Without Harsh Chemicals
One of the biggest perks I noticed after switching to homemade soap is how much softer and less irritated my skin feels. Commercial soaps often contain synthetic detergents and preservatives that can strip natural oils, leading to dryness or sensitivity.
In contrast, natural soap retains glycerin, a moisturizing byproduct of saponification, which keeps skin hydrated. This difference is especially noticeable in colder months when my skin tends to dry out, but homemade soap helps maintain its natural balance.
Customizing for Skin Types and Conditions
Making your own soap means you can tailor ingredients to suit specific skin needs. For example, if you have oily or acne-prone skin, you might include tea tree or charcoal, which help absorb excess oil and fight bacteria.
For dry or sensitive skin, incorporating shea butter or oat milk can provide extra nourishment and soothe irritation. I’ve personally experimented with adding honey for its antibacterial and humectant properties, which made a noticeable difference in my skin’s softness and clarity.
Long-Term Benefits of Natural Soap Use
Over time, consistent use of natural soap can improve your skin’s texture and resilience. Because it’s free from synthetic chemicals, your skin isn’t subjected to repeated stress or harsh stripping.
I found that after switching, my skin looked healthier, felt less reactive, and even developed a more balanced oil production. This gradual improvement reinforces why many people, including myself, stick with homemade soap as part of a sustainable skincare routine.
Eco-Friendly Packaging and Storage Ideas
Reducing Plastic Waste with Sustainable Packaging
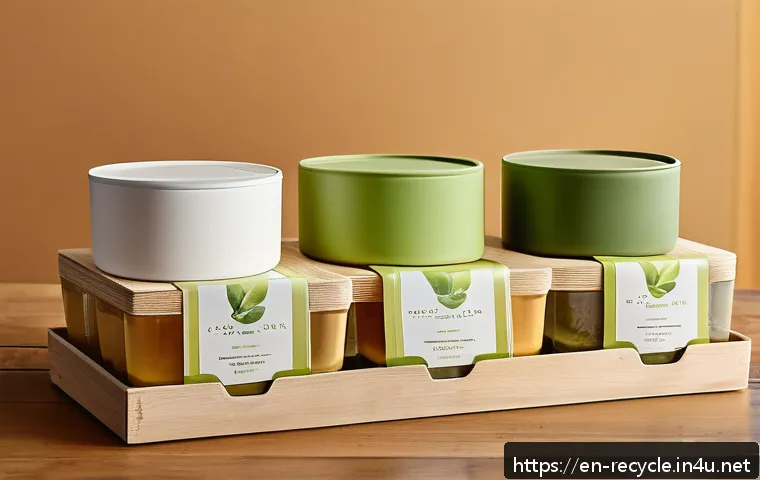
One of the joys of homemade soap is that it naturally lends itself to zero-waste packaging. Instead of plastic wrappers or bottles, I use recyclable paper, fabric wraps, or biodegradable boxes.
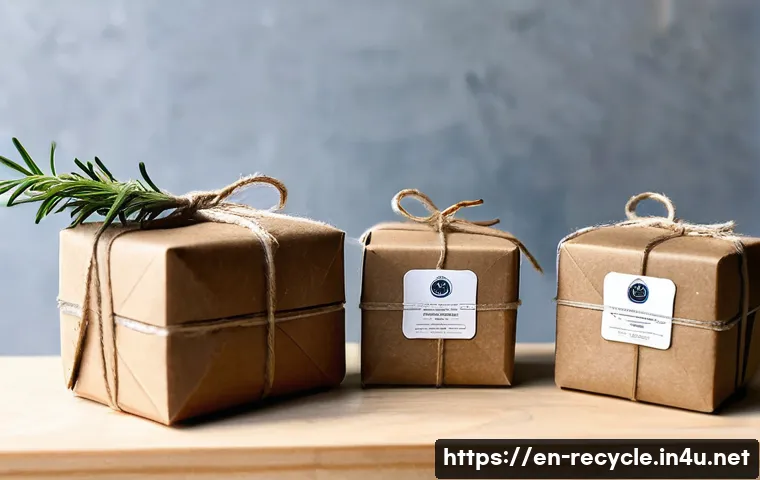
Wrapping soap bars in kraft paper tied with twine not only looks charming but also completely compostable. Some artisans even use reusable tins or wooden boxes to add a touch of elegance while staying eco-conscious.
This approach aligns perfectly with the ethos behind making soap at home—caring for both your skin and the planet.
Creative Storage Solutions to Extend Soap Life
Proper storage is key to maintaining soap’s quality and longevity. I like to keep my bars on wooden soap dishes with drainage holes to prevent sogginess and extend their lifespan.
Storing soaps in a cool, dry place away from direct sunlight also helps preserve fragrance and texture. For gifting or travel, small fabric pouches or mesh bags work well and allow the soap to dry between uses.
These simple habits make using homemade soap more enjoyable and economical.
Eco-Friendly Gift Ideas Using Homemade Soap
Homemade soap makes a thoughtful, personalized gift that’s both beautiful and sustainable. Pairing soap bars with a small bundle of dried herbs or a handmade washcloth creates a lovely package.
You can even customize the scent or color to suit the recipient’s preferences, adding a personal touch that mass-produced products can’t match. I’ve found that friends and family appreciate these gifts not just for their usefulness but for the care and effort behind them.
Plus, gifting eco-friendly items spreads awareness and inspires others to make greener choices.
Comparing Common Oils and Additives in Soap Making
| Ingredient | Skin Benefit | Lather Quality | Hardness | Typical Use |
|---|---|---|---|---|
| Olive Oil | Moisturizing, gentle | Low, creamy | Soft to medium | Base oil for mild soaps |
| Coconut Oil | Cleaning, bubbly lather | High, fluffy | Hard | Boosts cleansing and lather |
| Palm Oil | Hardens soap | Medium | Very hard | Increases bar durability |
| Shea Butter | Richly moisturizing | Low | Soft | Skin conditioning |
| Lavender Oil (Essential) | Calming, antiseptic | None | None | Scent and skin benefits |
| Activated Charcoal | Detoxifying, oil-absorbing | None | None | Exfoliant and clarifier |
Tips for Scaling Up Your Soap Making Hobby
Choosing Equipment for Larger Batches
Once you get comfortable with small batches, scaling up can be exciting but requires some planning. I upgraded to larger stainless steel pots and digital scales for accuracy, which made the process smoother and safer.
Investing in silicone molds instead of plastic ones also helped with easier release and durability. Plus, having a dedicated workspace with good ventilation and easy-to-clean surfaces made a huge difference in efficiency and cleanup.
These small upgrades made me feel more like a professional soap maker and less like a hobbyist.
Batch Consistency and Quality Control
Maintaining consistency across larger batches is a challenge I faced firsthand. Keeping detailed records of ingredient weights, temperatures, and timing helped me replicate successful batches and avoid mistakes.
Testing pH levels with strips ensured the soap was safe and mild before use or sale. I also learned to adjust curing times depending on batch size and environmental conditions.
Over time, this attention to detail improved my soap’s quality and customer satisfaction.
Marketing Homemade Soap Sustainably
If you decide to sell your soap, emphasizing the natural, eco-friendly aspects can attract like-minded customers. Sharing your story about ingredient sourcing, sustainable packaging, and skin benefits builds trust and authenticity.
Social media platforms are great for showcasing your unique designs and educating buyers about the advantages of natural soap. I found that hosting local markets or collaborating with eco-conscious shops helped expand my reach while keeping the focus on sustainability.
It’s rewarding to see others appreciate and support a greener lifestyle through your creations.
글을 마치며
Making your own natural soap is not only a rewarding creative process but also a meaningful way to care for your skin and the environment. By choosing the right ingredients and mastering the techniques, you can craft personalized soaps that truly suit your needs. Whether you’re a beginner or looking to scale up, the journey offers endless opportunities to experiment and improve. Remember, patience and attention to detail are key to success in soap making.
알아두면 쓸모 있는 정보
1. Always measure ingredients precisely to maintain soap quality and safety.
2. Test small batches first when trying new additives or scents to avoid skin irritation.
3. Cure your soap for at least 4-6 weeks to ensure it’s gentle and long-lasting.
4. Use sustainable packaging options like kraft paper or fabric wraps to reduce waste.
5. Keep a detailed log of each batch to track improvements and maintain consistency.
중요 사항 정리
Safety should never be overlooked, especially when handling lye—wear protective gear and follow proper procedures. Balancing oils and additives is essential to create a soap that cleanses well without drying out the skin. Patience during the curing process greatly impacts the final product’s quality. Lastly, embracing eco-friendly practices in packaging and storage aligns your soap-making hobby with sustainable living principles, enhancing both your enjoyment and the positive impact on the environment.
Frequently Asked Questions (FAQ) 📖
Q: What ingredients do I need to make eco-friendly soap at home?
A: To start making your own eco-friendly soap, you’ll typically need natural oils like olive oil, coconut oil, or shea butter, along with lye (sodium hydroxide), which is essential for the saponification process.
You can also add natural fragrances such as essential oils, and ingredients like oatmeal or dried herbs for texture and added benefits. I found that sourcing organic and sustainably harvested ingredients makes the soap not only better for your skin but also aligns with an eco-conscious lifestyle.
Just be sure to handle lye carefully with gloves and proper ventilation.
Q: How long does homemade soap last compared to store-bought soap?
A: Homemade soap generally lasts longer than commercial soap because it often contains fewer fillers and harsh chemicals that can cause the soap to dissolve quickly.
From my experience, a well-cured bar of homemade soap can last several weeks to even months, depending on how often you use it and how you store it. Keeping the soap dry between uses, like on a well-draining soap dish, really helps extend its lifespan.
Q: Is making soap at home safe for beginners?
A: Absolutely, but with some precautions. While the process is straightforward, working with lye requires caution since it’s a caustic substance. I recommend starting with melt-and-pour soap bases if you’re nervous about handling lye—this method skips the chemical reaction step but still lets you customize scents and additives.
If you decide to make soap from scratch, make sure to follow detailed instructions, wear protective gear, and work in a well-ventilated area. Once you get the hang of it, it’s a rewarding and safe hobby that connects you more closely to what you put on your skin.